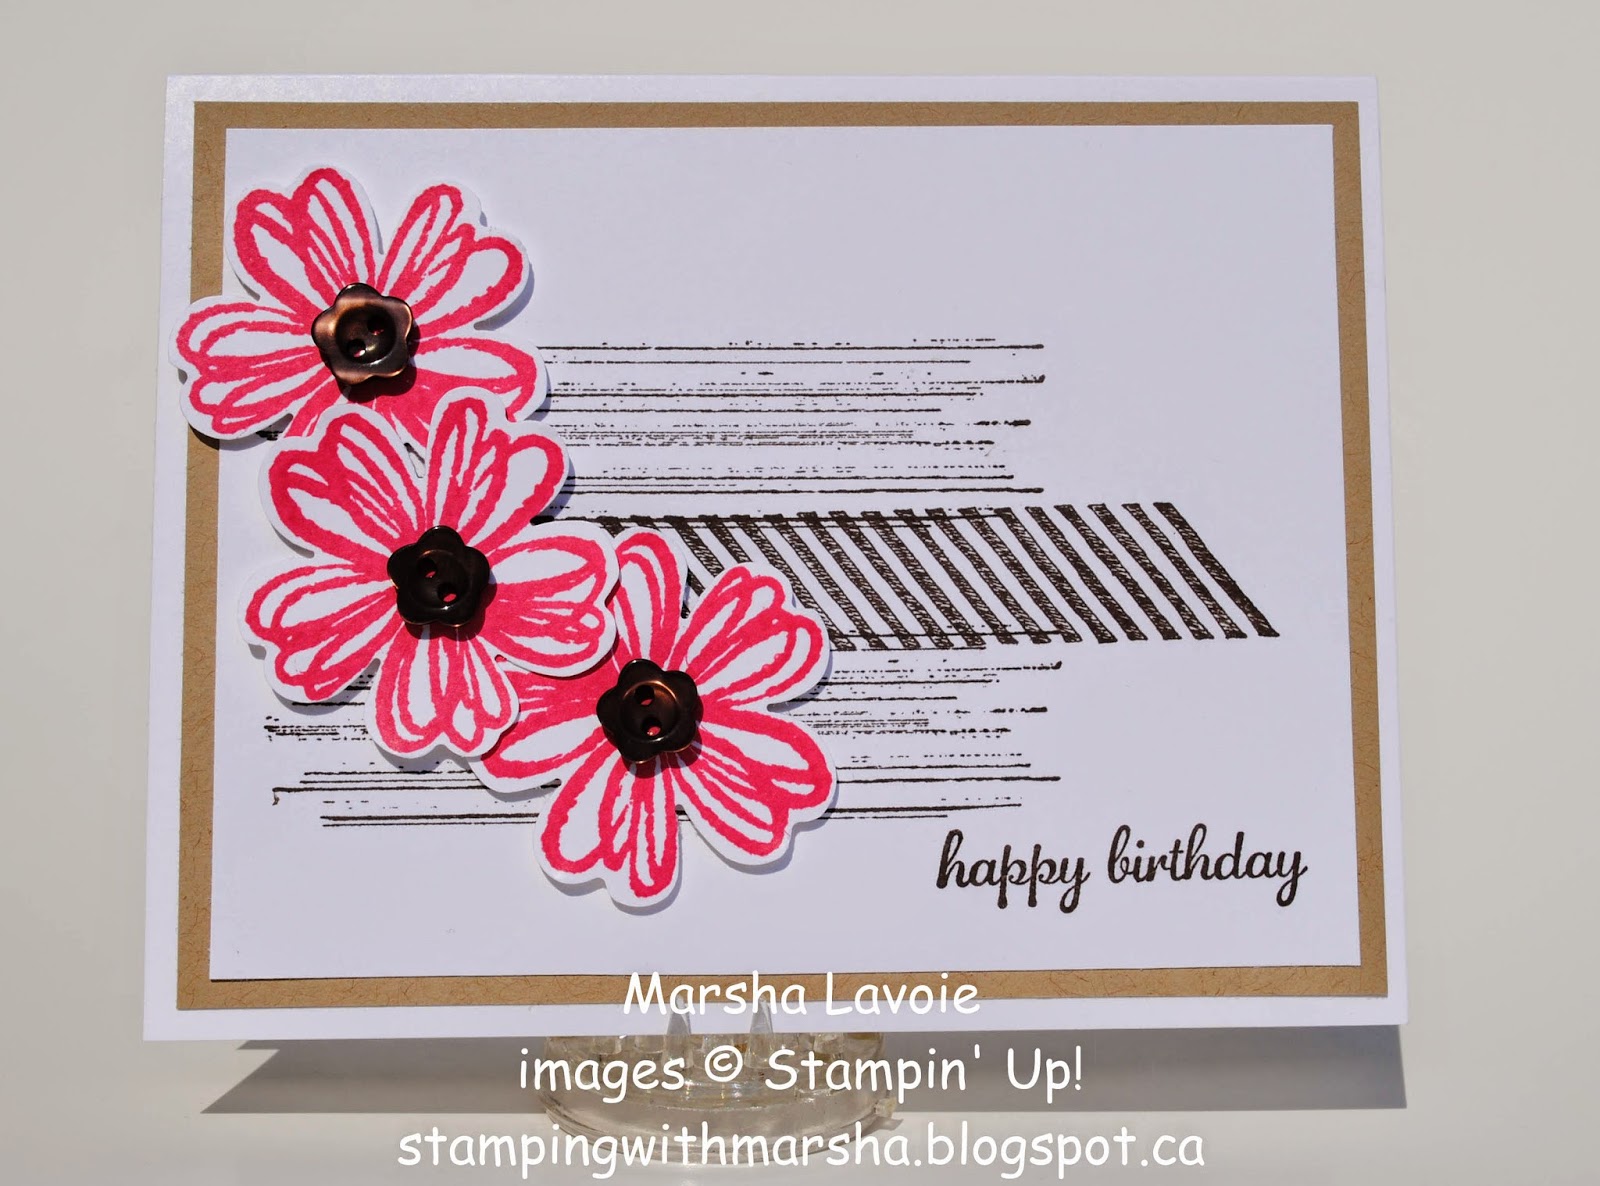
Showing posts with label flower shop stampin up. Show all posts

Wednesday, June 25, 2014

Teacher's Gifts

Hi Everyone! The end of the school year is fast approaching (last day is tomorrow!), so that means that my schedule will change too. I will still be writing blog posts, but just not everyday. I am sure you will be busy too, spending time with your kids, grandkids, vacationing, etc. Thanks for understanding!

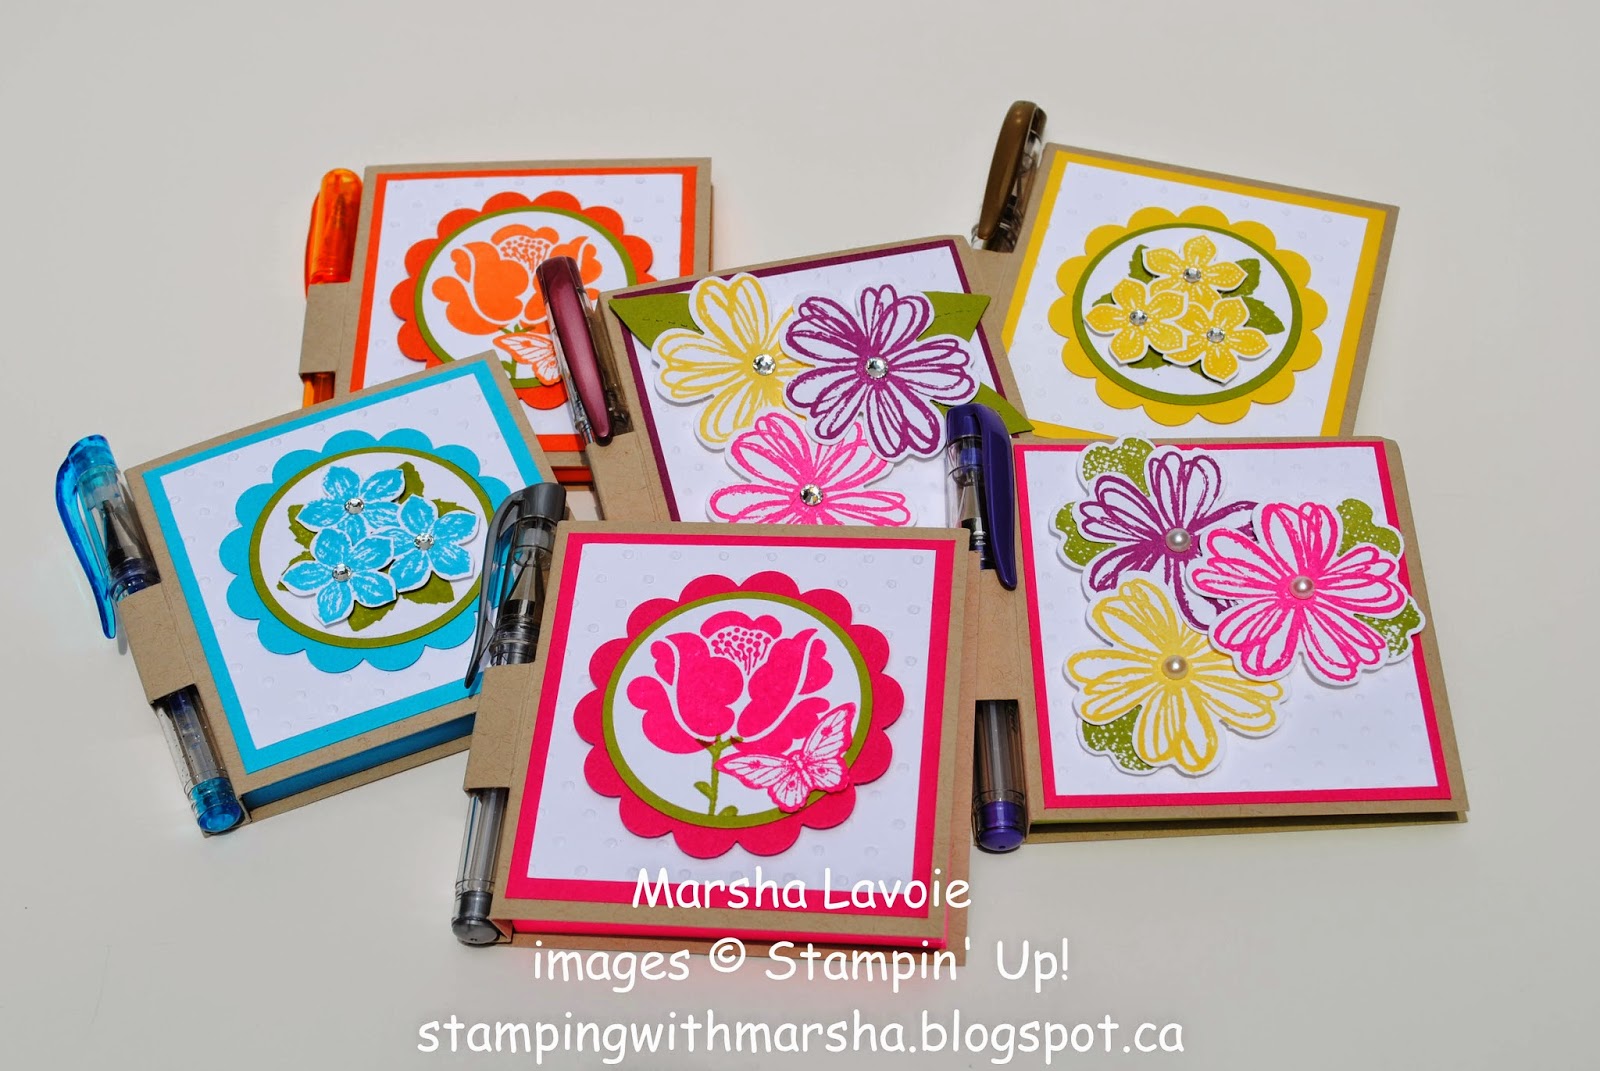
Today, is about Teacher's gifts. They do so much for me and my kids, we just wanted to say "thank you". So, I made them Post-it note holders with pens. I have blogged about this project before and even have a tutorial on how to make them. You can find that here.
stampin up

I made 6 altogether. Two each of the same style, but different colours. Which one is your favorite?

stampin up

You can't tell in the photos, but the actual Post-it note paper is the same colour as the flowers. Example: That pink rose one has pink Post-it note paper inside and the orange has orange paper. All matchy, matchy!

stampin up


stampin up
 
 
I wrote a little note in each one, for each of the teachers. Saying "thank you" for all they do and have a great summer.
 
Here they are all wrapped up and ready to hand out. (sorry about the photo, I remembered to take a picture just before we had to leave!) I love the way they turned out. These little cellophane bags are from Sale-A-Bration way back in January 2014. Absolutely love them. We don't carry them anymore but, we do have plain cellophane bags in 3 different sizes and we also have (we = Stampin' Up!) really cute Chevron and Polka Dot paper gift bags that would work too.
 
stampin up
 

 Hope the teacher's like them as much as I do!

Thanks for stopping by! If you have any questions/comments, I would love to hear from you. stampingwithmarsha@gmail.com

Remember that if you would like to place an order, it's super easy and you can do it 24/7 right from your computer. Just click on the shopping cart on the top right hand side. It will lead you right to my Stampin' Up! order page.

Happy Stamping!
Marsha

If you liked any of the supplies, to shop, or to get a catalog, please feel free to contact me, and of course you can shop online for Stampin’ Up! Canada products directly through me by clicking the ‘shopping cart' button on the right. And if you’re thinking of joining Stampin’ Up! and want to join my team I’d would love to hear from you! 

So be careful how you live. Don’t live like fools, but like those who are wise. Make the most of every opportunity in these evil days. Don’t act thoughtlessly, but understand what the Lord wants you to do.  Ephesians 5:15-17


Saturday, June 21, 2014

Hello

Hi Everyone! Today's card, is all about the colour turquoise. I wanted something cheerful for this next card. A friend of mine is giving it to her "secret sister" at church. I think it is a nice pick-me-up kinda card. Hope she does too!
 
stampin up
 
Stampin' Up! Supplies:
 
Paper: DSP Tempting Turquoise, Whisper White, Old Olive
 
Ink: Tempting Turquoise
 
Stamp Sets: Flower Shop, Papillon Potpourri, Four You
 
Accessories: Deco Label Collection Framelits, Pansy Punch, Small Butterfly Punch, Rhinestones, Dimensionals
 
Thanks for stopping by! If you have any questions or would like more information about Stampin' Up! please send me a message (stampingwithmarsha@gmail.com) Also, you can order 24/7 right from your own home, just click the shopping cart button on the right.
 
Happy Stamping!
Marsha
 
 If you liked any of the supplies, to shop, or to get a catalog, please feel free to contact me, and of course you can shop online for Stampin’ Up! Canada products directly through me by clicking the ‘shopping cart' button on the right. And if you’re thinking of joining Stampin’ Up! and want to join my team I’d would love to hear from you! 
 
 Death and life are in the power of the tongue, and those who love it will eat its fruit. Proverbs 18:21


Tuesday, June 3, 2014

Bookmarks!

Hi Everyone! Today, I have for you some bookmarks. I love homemade gifts, and this one is really easy and simple to do. Plus, I always have a lot of different books on the go, so I need bookmarks! I know, with technology today we have e-readers, but it is nice every once in awhile to open up a book with paper pages. It is also really nice to get something handmade for a gift! :)

Anyway, back to my project, bookmarks! I have 2 different styles for you. One is using the Scallop Tag Topper Punch, and one is multiple layering.

I really like the layering look. Looks very classic to me. For this one I used: Whisper White, Chocolate Chip and Pistachio Pudding for the layers. The stamp sets are: Flower Shop, Petite Petals, Gorgeous Grunge and Work of Art. The inks are: Chocolate Chip and Pistachio Pudding (makes you kinda hungry!)
 
stampin up
 
For this one I wanted to try the Scalloped Tag Topper Punch. I really like the way this one turned out too. I used: Perfect Plum, and Whisper White for the base. The stamp set is: Too Kind. The inks are: Smoky Slate for the splatter, Pistachio Pudding for the stem, Perfect Plum for the flower, and Black Stazon for the greeting.
 
stampin up
 
If you have any questions or would like to order the products that I have shown, you can click the shopping cart button on the top right of this page (24/7), or send me a message at stampingwithmarsha@gmail.com
 
Thanks for stopping by!
 
Happy Stamping!
Marsha
 
If you liked any of the supplies, to shop, or to get a catalog, please feel free to contact me, and of course you can shop online for Stampin’ Up! products directly through me by clicking the ‘shopping cart' button on the right. And if you’re thinking of joining Stampin’ Up! and want to join my team I’d would love to hear from you!

Now all glory to God, who is able, through his mighty power at work within us, to accomplish infinitely more than we might ask or think. (Ephesians 3:20, NLT) 

Thursday, May 29, 2014

Spring Flowers 4

Hi Everyone! The card I have for you today is supposed to make you feel like you are in a field of flowers. What do you think, does it?

stampin up
 
This is the first time I have used the Banner stamp set. Trust me, it took a LONG time to figure out where I wanted it to go, or even if I was going to use it! You see, I'm not one for banners of any kind!
 
Stampin' Up! Supplies:

Paper: Whisper White, Daffodil Delight

Inks: Daffodil Delight, Melon Mambo, Rich Razzleberry, Pumpkin Pie, Real Red

Stamps: Flower Shop, Petite Petals, Itty Bitty Banners

Accessories: Pansy Punch, Petite Petals Punch, Itty Bitty Banners Framelits, Dimensionals, Glue Dots

Thanks for stopping by!

Happy Stamping!
Marsha

If you liked any of the supplies, to shop, or to get a catalog, please feel free to contact me, and of course you can shop online for Stampin’ Up! products directly through me by clicking the ‘shopping cart' button on the right. And if you’re thinking of joining Stampin’ Up! and want to join my team I’d would love to hear from you!

Oh, give thanks to the LORD, for He is good! For His mercy endures forever. (Psalm 136:1, NKJV)


Thursday, May 22, 2014

Envelope Photo Album

Hi everyone! Today, I have for you an envelope photo album. I made it using the Envelope Punch Board. Here are the instructions that I followed, however I changed the size and a few other things (what else is new!). Her album is 6x6 and mine is made using the measurements for a 4x4 card on the Envelope Punch Board.
stampin up
 
This is what the inside looks like. Each of those pages are a pocket for you to store small things in. I used the 1 inch circle punch to help open the pockets. There are 4 pockets in total. I did not embellish the inside because I am not sure if I am going to keep it or give it away.
 
stampin up

This is the top view so that you can see, it really looks like a book.

stampin up

Stampin' Up! Supplies:

Paper: Whisper White, plain printer paper for the envelopes (which are covered by the DSP), Coastal Cabana, DSP

Ink: Coastal Cabana, Black Stazon

Stamp Sets: Flower Shop, Work of Art

Accessories: Envelope Punch Board, Pansy Punch, Petite Petals Punch, Itty Bitty Punch, Rhinestones, Dimensionals, Simply Scored Scoring Tool, 1 inch Circle punch

Thanks for stopping by!

Happy Stamping!
Marsha

If you liked any of the supplies, to shop, or to get a catalog, please feel free to contact me, and of course you can shop online for Stampin’ Up! products directly through me by clicking the ‘shopping cart' button on the right. And if you’re thinking of joining Stampin’ Up! and want to join my team I’d would love to hear from you!

But those who wait on the LORD shall renew their strength; they shall mount up with wings like eagles,
they shall run and not be weary, they shall walk and not faint
(Isaiah 40:31, NKJV).


Saturday, May 17, 2014

Pillow boxes

Hi Everyone! Today, I have for you Pillow boxes! And you don't even need a template to make this. They are so simple to make. The two that I made are both from the same size paper. I know hard to believe because they look so different.
 
The paper is the "Fresh Prints" DSP stack. They are just folded on opposite ends. The one in Real Red, could certainly have been for Valentine's Day! You could put goodies in them, jewelry, etc. Small stuff! Just another unique way to wrap and send a little gift.
 
stampin up

stampin up
 
stampin up
 
Stampin' Up! Supplies:
 
Paper: Whisper White, Fresh Print DSP
 
Ink: Real Red, Craft white, Coastal Cabana
 
Stamp Sets: Flower Shop, For you, Fabulous Phrases, Work of Art
 
Accessories: Ribbon, Pearls, Button, Itty Bitty Shape Punches, Tag, Dimensional, something circular (to cut the end of the pillow box), scoring tool, Pansy Punch
 
Thanks for stopping by!
 
Happy Stamping!
Marsha
 
 If you liked any of the supplies, to shop, or to get a catalog, please feel free to contact me, and of course you can shop online for Stampin’ Up! products directly through me by clicking the ‘shopping cart' button on the right. And if you’re thinking of joining Stampin’ Up! and want to join my team I’d would love to hear from you!


Friday, May 9, 2014

Note card box

Hi Everyone! Today I have for you a note card box with note cards. I have wanted to make one for some time (what else is new!). I think they are so lovely! I finally figured out how to make it. This one holds 4x4 cards with matching envelopes. You could make it to fit regular size cards as well. I started to make one (that holds 4 1/4 x 5 1/2) , but haven't prettied it up yet.
 
stampin up

stampin up
 
These are the note cards that I made to go inside. I made two that say "Happy Birthday", one "Get Well", and one "Thank You". The envelopes are under the cards, I made them all white.

stampin up
 
Stampin' Up! Supplies:
 
Paper: Regal Rose, DSP, Whisper White, Old Olive
 
Ink: Regal Rose
 
Stamp Sets: Express Yourself (retiring), Flower Shop, Work of Art, Gorgeous Grunge
 
Accessories: Pansy Punch, Petite Petals Punch, Itty Bitty Punch Pack (retiring), Sticky Strip, Ribbon, Rhinestones, Glue Dots, Circle Framelits, Starburst Framelits
 
Thanks for stopping by!
 
Happy Stamping!
Marsha
 
 If you liked any of the supplies, to shop, or to get a catalog, please feel free to contact me, and of course you can shop online for Stampin’ Up! products directly through me by clicking the ‘shopping cart' button on the right. And if you’re thinking of joining Stampin’ Up! and want to join my team I’d would love to hear from you!
 
I know that all God does will last forever, there is no adding to it or taking from it. God works so that people will be in awe of Him. Ecclesiastes 3:14

Tuesday, April 22, 2014

Lots of Bags!

Bags & Bags, oh my! I have searched the Internet looking for different bags. I really like making my own packaging for gifts and little treats. There are so many great sites for you to chose from. Here is my collection so far, waiting for the right occasion to be filled and given away!

stampin up

stampin up
 
Here is a list of just some of the sites I got the ideas from:
 
If there is a specific project that you would like to know the products that I used please leave a comment or send me a message.
 
Don't forget free shipping started yesterday! Monday April 21st, to Friday APril 25th, 2014. You don't want to miss this!
 
Thanks for stopping by!
 
Happy Stamping!
Marsha
 
If you liked any of the supplies, to shop, or to get a catalog, please feel free to contact me, and of course you can shop online for Stampin’ Up! products directly through me by clicking the ‘shopping cart' button on the right. And if you’re thinking of joining Stampin’ Up! and want to join my team I’d would love to hear from you!
 
"He is not here, for He has risen, just as He said. Come, see the place where He was lying." Matthew 28:6

Friday, April 11, 2014

Gorgeous Grunge meets Simply Stars and Flower Shop

Today I have for you something a little different. I wanted to show you, that you could use the same background, but just change the main stamp set and you get a completely different card. Know what I mean? Good thing I have photos!

stampin up

stampin up
 
See what I mean now? (I probably should have changed one of the greetings. Oops! Anyway, hopefully you get the idea).
 
Stampin' Up! Supplies:
 
Paper: Whisper White, Baked Brown Sugar
 
Inks: Rose Red, Night of Navy, Marina Mist
 
Stamps: Gorgeous Grunge, Flower Shop, Simply Stars, Express Yourself
 
Accessories: Pansy Punch, Star Punch (retired), Early Espresso Buttons, Dimensionals, Glue Dots


If you liked any of the supplies, to shop, or to get a catalog, please feel free to contact me, and of course you can shop online for Stampin’ Up! products directly through me by clicking the ‘shopping cart' button on the right. And if you’re thinking of joining Stampin’ Up! and want to join my team I’d would love to hear from you!


Thanks for stopping by!
Happy Stamping!
Marsha
 
"Rejoice always; pray without ceasing; in everything give thanks; for this is God's will for you in Christ Jesus." 1 Thessalonians 5:16-18

Monday, March 31, 2014

Flower Shop

Today, I have for you a simple, yet elegant card. I made it for our neighbour. They had us over for dinner the other night and she made all sorts of extra yummy things just for me! (I have Celiac Disease). Anyway, we both love daisies and the colours yellow and blue. So I thought this was just perfect for her and for this beautiful Spring day!

stampin up
 
Stampin' Up! Supplies:
 
Paper: Night of Navy (100867), Daffodil Delight (119683), Whisper White (100730)
 
Inks: Daffodil Delight (126944)
 
Stamps: Flower Shop (c130942), Simply Sketched (c129672)
 
Accessories: Perfect Polka Dots Embossing Folder (117335), Pansy Punch (130698), Artisan Punch (130920), Large Oval Punch (119855), Dimensionals (104430), Pearls (119247)
 
Today is the LAST day of Sale-A-Bration until next year! If you would like to go shopping just click the shopping cart button on the right or here. Thanks for stopping by, hope you are enjoying all that I have for you!
 
Happy Stamping!
Marsha
 
"For I know the plans that I have for you,' declares the Lord, "plans for welfare and not for calamity to give you a future and a hope." Jeremiah 29:11

Thursday, March 27, 2014

Project week, DAY 4

Welcome to Day 4 of Project week! I hope you have been enjoying all the projects.

Today I have something really cute. I know, I know, I always say that, but it's true! I think I really like this one because I used really bright colours. (I am so ready for Spring like temperatures, how about you!?) This one is so easy to make too! (tutorial below!) It's a prefect little gift for teachers, bus drivers, neighbours, friends, just because, etc. Remember to change the colours and stamp set to suit your needs!

stampin up

stampin up
 
See, I told you it was cute! It's a Post-it Note holder with a pen! I found the pens and the Post-it notes at the Dollar Store (the Post-it notes might not be as thick as regular Post-it notes). 
 
Stampin' Up! Supplies:
 
Paper: Crumb Cake (120953) 3 1/4 x 7 3/8, Melon Mambo (115320) 2 7/8 x 3 1/8, Whisper White (100730) 2 3/4 x 3
 
Stamp Set: Flower Shop (c130942)
 
Accessories: Sticky Strip (104294), Dimensionals (104430), Pansy Punch (130698), Pearls (119247), Perfect Polka Dots Embossing Folder (117335), Simply Scored Scoring Tool (122334)
 
Lets get started!
 
 
1. Take your Crumb Cake cardstock, score it in the horizontal position at 3 1/8, 3 1/2, 3 7/8.


2. Fold it along the scored edges. It should look like this with one side longer than the other.
3. Now you are going to make two cuts into the V, just up to the score line. This is the piece that will hold your pen.
 

 4. It should look like this.

 
5. On your work surface place the longer side down (or to the right). The longer side is the one where we put the Post-it notes. (make sense?)
6. Now you are going to adhere Sticky Strip to the small section right beside the longer side. See photo above.

 
7. Adhere it to the longer side. It should now look like this. Don't worry were almost done!

 
8. Now adhere Sticky Strip to the back of your Post-it notes.

 
9. Last step before you get to embellish it! Adhere the Post-it notes on the inside. Voila!~

 
 10. Now it's time to decorate the outside.

Thanks for stopping by, if you have any questions or comments please feel free to leave them below. You can shop 24/7 by using the shopping cart button on the right hand side. Remember only a few more days of Sale-A-Bration! Hurry and get your free stuff!
 
Happy Stamping!
Marsha
 
"But love your enemies, and do good, and lend, expecting nothing in return; and your reward will be great, and you will be sons of the Most High; for He Himself is kind to ungrateful and evil men." Luke 6:35

Tuesday, March 25, 2014

Day 2

It's Day 2 of Project Week! Today I have for you another little box. This one could be for Wedding Favours, at a place setting filled with candy, chocolates,etc., (for Easter, Thanksgiving, Christmas), or instead of a greeting you could put a persons name for a place card. All you need to do is change up the colours to suit your needs. The possibilities are endless!
stampin up
 
This one is only 2 3/8 x 2 7/8 x 3/4 inch thick.
 
Stampin' Up! Supplies:
 
Paper: Baked Brown Sugar (130022), Rose Red  (102544), Very Vanilla (101650)
 
Stamps: Flower Shop (c130942), Express Yourself (c130339)
 
Ink: Early Espresso (126974)
 
Accessories: Artisan Label Punch (130920), Large Oval Punch (119855), 7/8" Cotton Ribbon (127844), Dimensionals (104430), Sticky Strip (104294), Baker's Twine (not Stampin' Up!)
 
Thanks for stopping by, if you have any questions let me know! Don't forget only 1 week left of Sale-A-Bration!
 
Happy Stamping!
Marsha
 
"But now faith, hope, love, abide these three; but the greatest of these it love." 1 Corinthians 13:13 
 

Monday, March 24, 2014

Project Week, Day 1

Welcome to project week!  I love making 3D projects from paper (and my daughter loves to keep them!). Today I have for you a little box. The kind that can hold jewelry, little note cards, a light scarf, or whatever you want!
stampin up

stampin up
Isn't it the cutest! My daughter already has it filled with paper!
 
It measures 3 1/3 x 3 5/8 x 1 inch thick.
 
Stampin' Up! Supplies:
 
Paper: Tangerine Tango cardstock (111349), DSP Sycamore Street (retired)
 
Stamp: Flower Shop (c130942)
 
Ink: Tangerine Tango (126946)
 
Accessories: Antique Brads (117273), Pansy Punch (130698), Envelope Punch Board(133774), Dimensionals (104430), Baker's Twine (not Stampin' Up!)
 
 
Hope you enjoy it! Remember only 7 days left to get your free stuff during Sale-A-Bration!
 
Happy Stamping!
Marsha
 
"So do not worry about tomorrow; for tomorrow will care for itself, Each day has enough trouble of its own." Matthew 6:34
 

Friday, March 21, 2014

Flower Shop

I have this little beauty for you today. I absolutely love the Flower Shop stamp set. Six different flowers, plus there is a punch to match! What more could a girl ask for. Don't answer that! This one is a sympathy card, but you could always change the colours and the greeting to suit your needs. Could make a beautiful Spring Birthday card, especially after this really long Winter!
 
stampin up

Stampin' Up! Supplies:

Stamp set:
Flower Shop (c 130942), Simply Sketched (c129672)

Ink:
Early Espresso (126974)

Paper:
Very Vanilla (101650), Early Espresso (119686)

Accessories:
Pansy Punch (130698), Early Espresso Buttons (130031), Perfect Polka Dots Embossing Folder (117335), Glue Dots (103683), Dimensionals (104430)

Thanks for stopping by, please come back often! Feel free to leave me a comment.

Happy Stamping!
Marsha

"Let your light shine before men in such a way that they may see your good works, and glorify your Father who is in Heaven." Matthew 5:16

Monday, March 17, 2014

Triple Time Stamping (Tutorial)

stampin up

Today I have for you a tutorial on how to make this lovely card. In the card world they call it Triple Time Stamping. I know what you're thinking, this card is way too hard. Actually it's really easy. Let's get started!

First you will need these supplies:

Stamp Sets:
Summer Silhouettes (c 126447)
Flower Shop (c 130942)
Simply Sketched (c 129672)

Inks:
Garden Green (126973)
Crushed Curry (131173)

Paper:
1 - Whisper White Cardstock (100730) 2 x 3 1/4
1 - Garden Green Cardstock  (102584) 2 1/4 x 3 1/2
1 - Whisper White Cardstock  3 x 4 1/4
1 - Garden Green Cardstock  3 1/4 x 4 1/2
1 - Whisper White Cardstock  4 x 5 1/4
1 - Garden Green Cardstock  8 1/2 x 5 1/2

Accessories:
White Baker's Twine (124262)
White Designer Button (130031)
Stampin' Dimensionals (104430)
Pearl Basic Jewels (119247)
Black Stazon Ink (101406) For the Greeting


1. This is what the Whisper White Cardstock should look like.

2. Now you need to put a LITTLE bit of adhesive on the back of the 2 smaller Whisper White Cardstock pieces. You only want a little because you will have to remove them later.

 
3. Now you are going to layer them like this photo. (Hard to photograph white paper!) They need to be centered on top of one another.

 
4. Now the really fun part! Stamping the leaf images on to all 3 pieces of Whisper White Cardstock. Randomly stamp where you want the leaves to go. Always remember that it is more pleasing to the eye if you stamp an odd amount.

 
5. Now for the flower, same as the leaf, wherever you want them. (Remember odd numbers!) We are almost done! See, it wasn't that hard, was it!?

 
6. Now you take the Whisper White Cardstock layers apart and you adhere them to the Garden Green matts that you previously cut.
 
7. Before you adhere it to the card, now is the time to wrap your Bakers Twine around the 2 first full layers and add your button. I also stamped my Birthday Greeting (Black Stazon) at this time.
 
8. Last step! Adhere it to your card base with dimensionals!


Here is another card I made using the same method.

 
Thanks for stopping by and I hope you enjoyed this tutorial. Please leave me a comment, I would love to know what you think or if you have any questions about the cards that you see here. All these supplies can be purchased through Stampin' Up!, just press the shopping cart button and happy shopping!
 
Happy Stamping!
Marsha
 
Be anxious for nothing, but in everything by prayer and supplication with thanksgiving let your requests be made known to God. Philippians 4:6